Execution Server installation
Warning
In 2.3.0-RELEASE version of the server, we updated Jenkins to 2.190.1 version. Since 2.165 and newer version, Jenkins no longer supports the old (-remoting) mode in either the client or server. If you have installed a 2.3.0-RELEASE of the server and want to install an agent, you need to download 2.3.0-RELEASE (or newer) version of the agent.
Headless install
Linux procedure
Pre-requisites
A version of the java 8 jdk must be installed on the system.
The bin directory from this JDK must be included in the PATH shell variable. If necessary, run the following command in the shell you’ll be using :
export PATH=</path/to/the/JDK>/bin:$PATH
Procedure
To perform a headless server installation under linux, you need to perform the following steps :
- Create the installation parameter file.
- Launch the installer from the command line with the installation paramameter file path as argument.
> Installation parameter file
The parameter file can be generated from the attached template. Please make sure to adjust the following parameters to the real values on your system :
- jdkPath : Path to a java 8 JDK that will be used to run the server.
- installPath : Target installation path for the Squash TF server
linux-headless-install-parms-template.xml
> Installer execution
To actually install the Squash TF server, please run the following command :
java -jar <path/to/the/>squash-tf-execution-server-bundle-<version>-linux-installer.jar <path/to/the/xml-installation-parameter-file>
Note
Windows procedure
Pre-requisites
A version of the java 8 jdk must be installed on the system.
The bin directory from this JDK must be included in the PATH shell variable. If necessary, run the following command in the shell you’ll be using :
set PATH=<\path\to\the\JDK>\bin;%PATH%
Procedure
To perform a headless server installation under linux, you need to perform the following steps :
- Create the installation parameter file.
- Launch the installer from the command line with the installation paramameter file path as argument.
> Installation parameter file
The parameter file Can be generated from the attached template. Please make sure to adjust the following parameters to the real values on your system :
- jdkPath : Path to a java 8 JDK that will be used to run the server.
- installPath : Target installation path for the Squash TF server
- programGroup : Title for the Squash TF server submenu.
squash-tf-execution-server-auto-install-windows.xml
> Installer execution
To actually install the Squash TF server, please run the following command :
java -jar <path\to\the\>squash-tf-execution-server-bundle-<version>-win64-installer.jar <path\to\the\xml-installation-parameter-file>
Note
GUI install
Pre-requisites
A version of the java 8 jdk must be installed on the system.
The bin directory from this JDK must be included in the PATH shell variable. If necessary run the following command in the shell you’ll be using :
On Linux :
export PATH=</path/to/the/JDK>/bin:$PATH
On Windows :
set PATH=<\path\to\the\JDK>\bin;%PATH%
Download the desired installer version of Squash TF Execution Server here
Procedure
Launch the graphical installer by a double click on the Squash TF Execution Server jar file, or launch it with the following command line :
java -jar <desired-squash-tf-version>.jar
Then you should have the language selection screen :
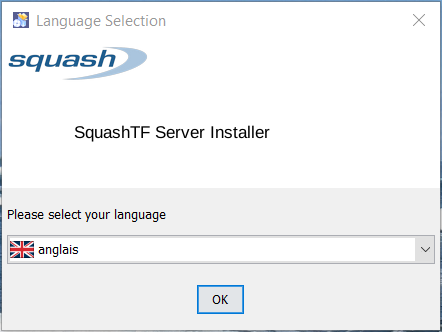
- Choose the desired language for the installer then click on
OK
- Choose the desired language for the installer then click on
The Welcome screen appears :

- Click on
Next
- Click on
The JDK Path screen appears. This screen allows you to define the path where you java jdk is installed.
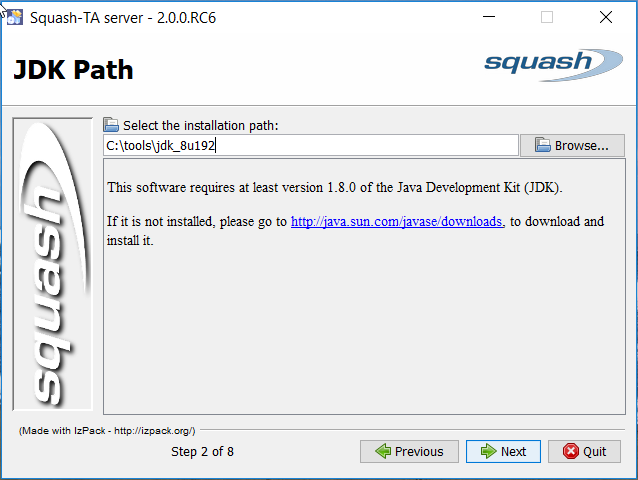
- Choose the path where your jdk is installed.
- Then click on
Next
The Target Path Screen appears. It allows you to define the installation directory.
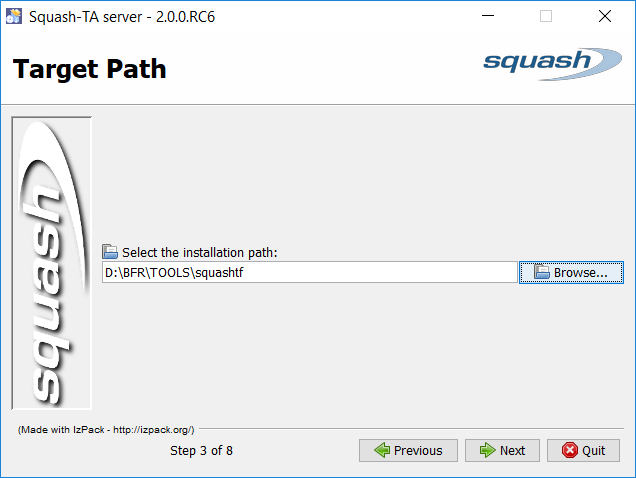
- Define the installation directory (or keep the one proposed by default)
- Then click on
Next
The Select Installation Packages appears. It allows you to choose which package you want to install. Currently, you only have the choice to install or not the sahi proxy.
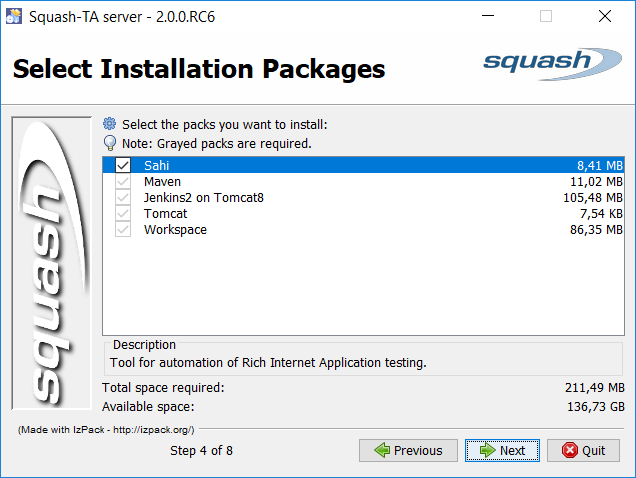
- Do your choice
- Then click on
Next
The licenses information screen appears. It gives you all the informations concerncing the license of the product embedded
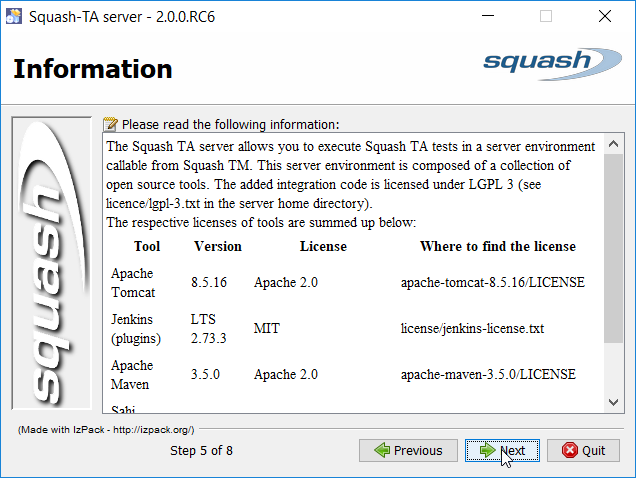
- Click on
Next
- Click on
The Setup Shortcuts screen appears. It allows you to define your preferences concerning the shortcuts to create.
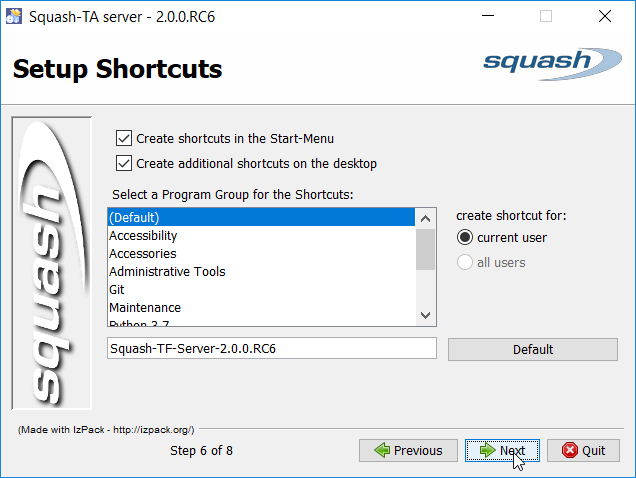
- Click on
Next
- Click on
The installation tracking screen appears. This screen show you the progression of the installation.
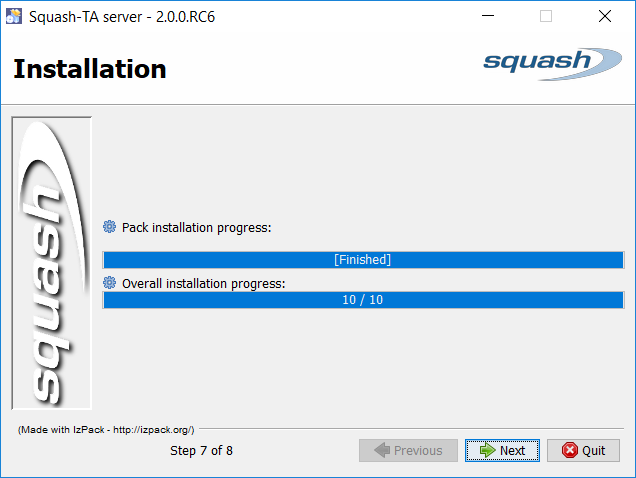
- When the installation is finished, click on
Next
- When the installation is finished, click on
The Installation Finished screen appears :
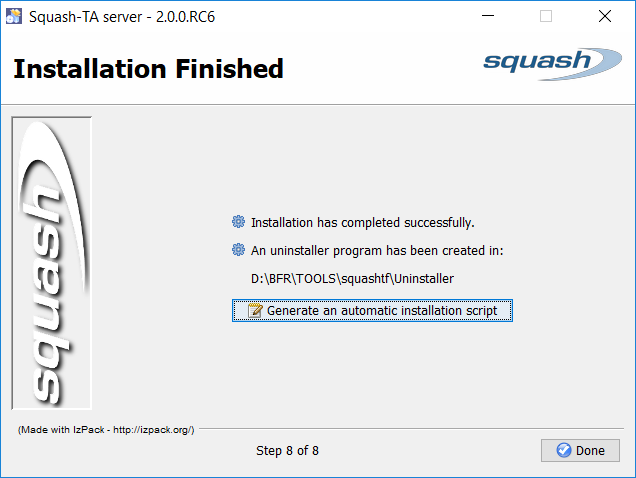
On this screen there is a button
Generate an automatic installation script. It offers you to save an xml file which you could use to reproduce the same installation (with the same configuration you chose in the previous screens). See the headless installation procedure for explanations on how do a new installation using this xml file.- Then click on
Done
- Then click on
Note
Congratulations ! You have installed the Squash TF Execution Server
Docker
These images are fully parameterized execution servers ready to be deployed.
Below is the procedure to do so.
Retrieve the Docker image
>> Retrieve from dockerhub
docker pull squashtest/squash-tf-execution-server:{version}
where {version} is the downloaded server version.
>> Retrieve from our artifacts repository
Download the Docker image of the execution server here
Load the image on your Docker setup with the command :
docker load -i squash-tf-execution-server.docker.{version}.tar
where {version} is the downloaded server version.

Warning
Do not execute the “docker import” command on the image archive as it will flatten it and result in the loss of all context data such as entry points.
Use the following command to check the correctness of the previous load :
docker images
On successful load the output looks like :

Create a running container of the image using the “docker run” command
>> Image from dockerhub
docker run --publish 1234:8080 --name squash-tf-execution-server squashtest/squash-tf-execution-server:{version}
>> Image from our artifacts repository
docker run --publish 1234:8080 --name squash-tf-execution-server squash/squash-tf-execution-server:{version}
Warning
The difference between the 2 run command is in the image name. The dockerhub one is squashtest/squash-tf-execution-server:{version}, the other is squash/squash-tf-execution-server:{version}
- The
--publishoption binds a port of the physical machine to the one of the soon to be created container. Here it binds the 1234 port of the physical machine to the 8080 port of the container. This is mandatory since the Jenkins installed on the image will listen to the 8080 of the container. If a Master/Slave architecture is planned you can open as many tcp port of the container as you wish by repeating the –publish option. - The
--nameoption is optional, but quite handy since it allows one to give a non arbitratry name to the container about to be be created.

- The
Note
Congratulations ! You now have a Squash TF Execution Server running inside a Docker container and ready to execute its first tests.
Once the container is properly created and running, use the docker stop command to shut it down :
docker stop squash-tf-execution-server
Use the docker start command to restart your server properly and retain your previous configuration and non-volatile data :
docker start squash-tf-execution-server